Last Updated on February 18, 2020 by Ecorf
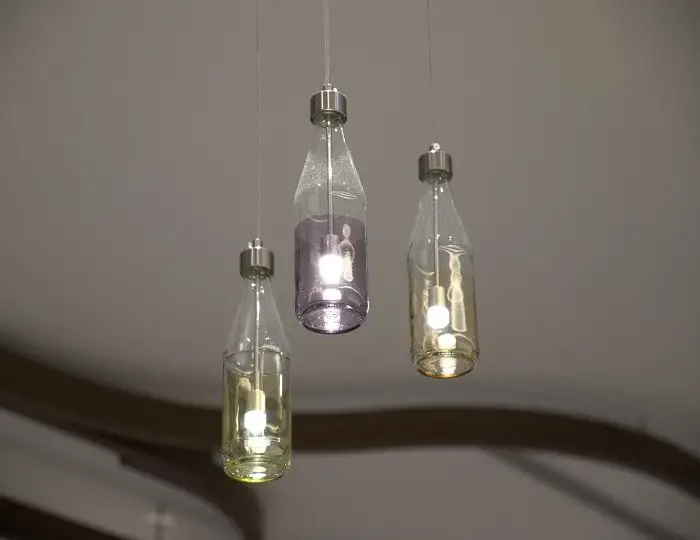
Why buy new when you can simply upcycle an everyday object into a gorgeous new lamp? An everyday glass bottle makes a wonderful base for any lamp, and there are many different ways to DIY your own. You may be concerned about crazy complicated instructions that include everything from drilling into glass to complicated wiring, but have no fear! We found out how to make a lamp out of a bottle without drilling with just a few simple steps (and possibly some help from your local hardware store or electrician).
Table of Contents
1. Pick Your Bottle
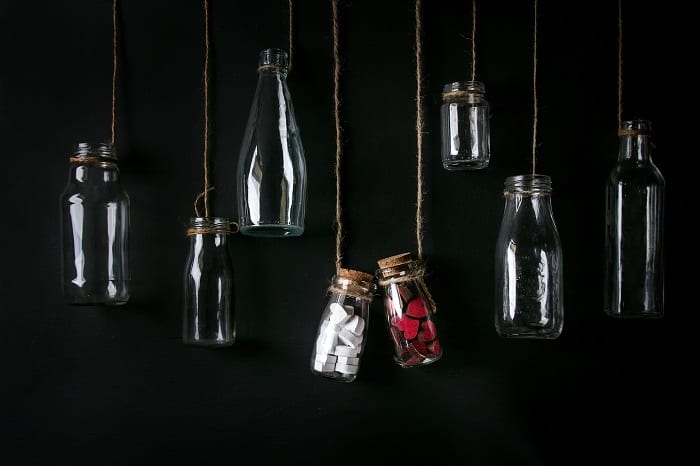
With a modern rustic charm that adds personality, glass bottle lamps are a gorgeous addition to any room. For this DIY, you can pick any glass bottle you desire (you just need to keep in mind that your lamp socket will need to fit securely at the mouth of the bottle). Depending on your design scheme, you can try this DIY with everything from a glass jug to your favorite brand of wine or liquor.
2. Find Your Lamp Socket
There are three great no drill options for lamp sockets when you are designing your own bottle lamp: prewired kit or full DIY.
Prewired Kit: This kit from Amazon is specifically designed for no-drill bottle lamp projects. The benefit of a ready to install kit is there is no need for an electrician’s help, you just follow the directions and off you go! If you decide to go this route, make sure your kit is designed for a no-drill project. You will also want to see if it comes with adapters to fit different bottle types, so you aren’t stuck trying to Macgyver on your lamp socket when the kit promised it would be an easy five-minute job.
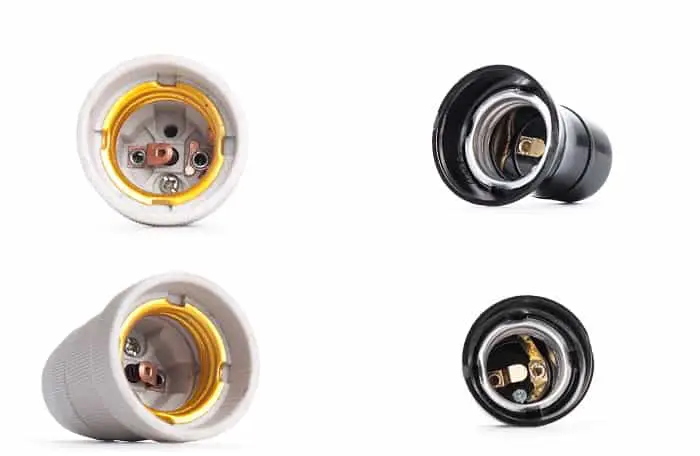
DIY Socket: At any hardware store, or even on Amazon, you can find tons of different styles of simple lamp sockets. These sockets won’t be specially designed to fit into a bottle, however, with a little measuring you can find the right socket for your desired bottle. The benefits of this method are the variety of socket finishes you can choose from to best fit your design aesthetic. You can also choose the color cord you want (like The Inspired Room did here).
When choosing your socket, make sure to stay clear of pendant sockets with an already attached cord. These cords will stick straight down into your lamp and will require drilling in order to be able to make your lamp functional.
Battery Powered String Lights: If you want to go the completely no-fuss way to DIY a bottle lamp, you are in luck! Using battery-powered string lights will be the simplest way to add illuminate your bottle lamp without having to find the right socket or consult an electrician to attach cords. You can even find a remote operated version of string lights to make turning on and off your lamp as easy as the click of a button.
3. Attach Your Socket to Your Bottle
If you decide to go the prewired kit route, chances are there will be attachments in the kit, making this part of the process as simple as following the directions that came with your socket. However, if you decide to go the full DIY route, you will likely need a way to stabilize your socket into the mouth of your bottle.
One easy no-drill way will be to use a hot glue gun around the mouth of the bottle. You can then affix your socket (with attached cord) to the top of your bottle, let it dry, and you will be good to go!
Another fun, easy solution will be to attach a cork to your socket. You can easily hot glue the socket to the cork that fits the opening of your bottle and pop it right in. This will make your socket removable and interchangeable with any bottle that the cork will fit into snugly.
If you decided to go with the string lights, adding them to your lamp will be as easy as threading them through the bottle opening. Just make sure that you have a plan to remove the lights or at least access the battery pack if they ever run out of juice.
4. Locate Your Ideal Lampshade
Finally, you can top of your DIY bottle lamp with the lampshade of your choice to really complete the look. If you’ve gone with a decorative bottle, you can choose a simple white shade to let the bottle pop. Or if you’ve gone with a simple bottle, you can add some color and personality with a fun, decorative shade. The only constraint will be finding a wire-ring shade that works with the socket you chose.
The string light option may require a little more ingenuity, but this is where the cork trick for the socket can come in handy. Once you have your string lights set up in your bottle, you can make yourself a removable stable lampshade using just a cork, an unwired socket, and a hot glue gun. Just affix your unwired socket to your cork and pop it in the top of your bottle. Since your lights are battery operated you don’t need to worry about the wiring, and can just use the socket as a cheap and easy way to complete your lamp with a traditional wire-ring lampshade.
While DIY’ing your own lamp may seem like a daunting task, there are so many options you can pick from without drilling through delicate glass or being a licensed electrician. It is as easy as picking a bottle, finding a socket or string lights, and choosing a lampshade to complete your dream lamp. Regardless of your DIY skill level, you can find the option that best suits you to create the perfect bottle lamp for your home all on your own. (However, if you do decide to go with the DIY socket and cord, make sure to consult an electrician. Safety first!)


