Last Updated on February 29, 2020 by Ecorf
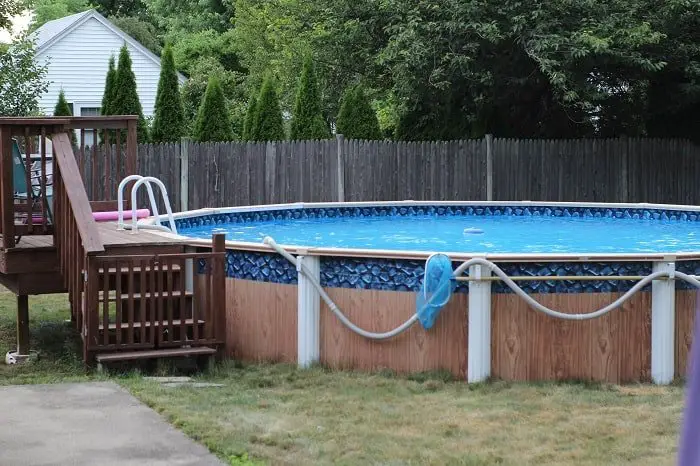
Swimming is an activity that many homeowners and sports enthusiasts look forward to engaging at different times in the year. You don’t have to be an Olympic winner of versed in the art of making quick dives before you can participate in swimming. You can also bring all the fun back home by building an above ground pool in your home.
It’s worth mentioning that the traditional swimming pools come in two forms. You can go for the in-ground pools that are popular. Otherwise, you may want to be one of the few homeowners that settle for the other variant – the above ground pools.
Above ground pools are the choice of many homeowners because of the varieties that make it customizable to the three shapes of rectangular, oval, and round. Also, you can cite it in your backyard, where it would be safer for everyone’s use.
Table of Contents
The Design of Above Ground Pools
Above-ground pools are constructed polymer or steel structures that are installed above the ground using waterproofing PVC membrane that overlay the floor and walls. These are designed to hold the water in the pool. The pool is designed for many use cases, including but not limited to wading and swimming.
The difficulty experienced by many homeowners is in leveling the yard/ground ahead of the construction of the pool. You needn’t bother much about that because the tips offered below would help you to construct your next above ground pool without hassles.
The Tools You Would Need to Level the Yard/Ground
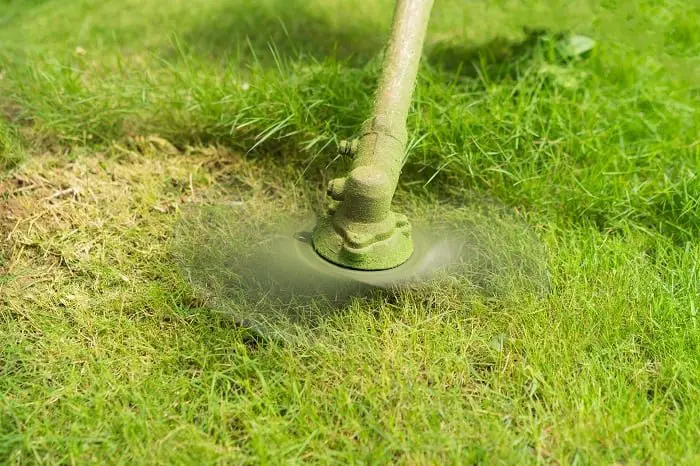
Leveling the particular area/yard you mapped out to install your above ground pool isn’t an arduous task. It can be as easy as mowing a lawn. However, the job would be faster and easier to complete with the right tools. So, highlighted below are the tools you would need to level the ground you intend to install the pool.
-
Extended Length of Board/Leveling Device
The work of the board is to help you find out the areas in the yard that needs to be flattened out. So, you have to lay the board flat on the planned pool site to discover that.
-
Wide Shovel
The wide shovel herein is used to remove hard stones and rocks from the planned pool site. It’s important because the presence of such stones can damage your pool liner.
-
Rototiller or Sod Cutter
This comes in handy in facilitating the grass clearing process ahead of the installation of the pool.
-
Lawn Roller and a Wide Rake
These two are used to smooth and level the sand on the yard/site of the planned pool. The lawn roller is specifically used to compress the sand until it becomes flattened out.
How to Level Your Yard for Pool Installation
Once you’ve gotten the needed tools, you can then proceed into the sequential steps of clearing the site before installing the pool. Read on to discover how you can achieve that without hassles.
-
Choose the Right Location
The rule of the thumb in setting up an above ground pool is to choose a strategic site that doesn’t get in the way. Depending on the type of ground used, you may, later on, discover that the pool would become uneven after the installation. In the end, the unbalanced distribution of weight in the pool causes the wall to buckle and even break in the worst scenarios.
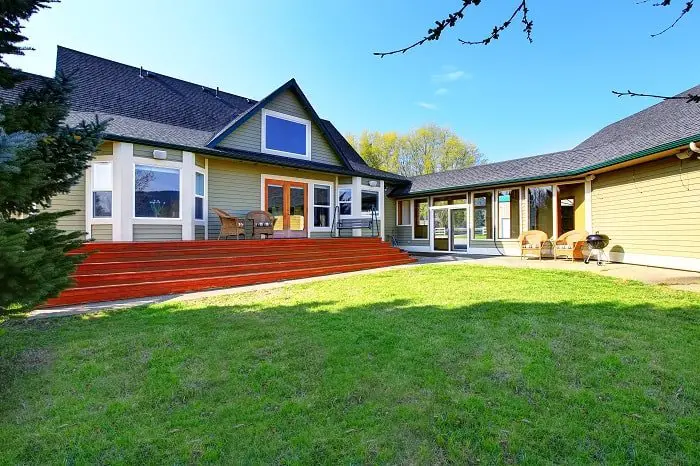
To prevent that occurrence, you should choose the flattest area in your yard. Also, you must avoid locations that have trees above it, as that tends to drop leaves into the pool. Ideally, you should avoid citing your pool in areas that are close to power lines and septic lines.
-
Clear the Site
After picking a location, you can then proceed to clear the site. Start by cutting and moving the grass to another area using the sod cutter. Come back to use the wide shovel to remove any roots or stones that can damage the pool’s liner.
-
Use Your Leveling Device
It’s now time to put your leveling device/extended length of the board to use. It helps to highlight any high and low points on your site. Use the leveling device/board all around the site until you’re sure that the entire site is flat.
-
Smoothen the Holes and Bumps
Using the extended length of the board or leveling device helps you to discover the high and low points in your site. With that in mind, you can then re-level the discovered bumps and holes until they all become flat.
You may also want to dig into the ground because that helps to create a stable base while getting the field to be leveled. That is essential because if you’re off by a couple of inches, then it becomes a problem when the pool has been filled with water.
-
Create a Base Using Sand
You would need truckloads of sand to enhance the leveling of the site. The sand is used to create a base that protects the liner of the pool while providing a buffer against weed and grass. You can use the wide rake to spread the sand evenly. After that, pour a sufficient amount of water over it, and leave it overnight to flatten out and dry.
-
Compact the Sand
Come over the next morning or after the sand has dried out. The job here is to compact the sand into a solid base for your pool. You can do that by using a lawn roller.
Remember to continually check to be sure that the ground has been flattened out as you wanted. Otherwise, you would need to use a shovel to level it out before using the lawn roller once more to pack down the sand to become firm.
-
Lay Down Your Base Protector
We’re getting to the last stage. You need to layout your base layer at this stage. It serves as the additional layer of protection for the vinyl of your above ground swimming pool. Aside from reducing the chances of a puncture to the pool’s liner, the base layer also prevents heat loss in the water as it seeps into the cold ground.
-
Set Up Your Pool
The ground is now leveled for you to set up the above ground pool. The rule of thumb is to follow all the steps involved in setting up your desired swimming pool, and it would come out as fascinating as you wanted.
Level Your Pool
Having a swimming pool in your home is one of the most amazing things any homeowners can figure out. Apply the tips above to get the ground leveled. Then, you can proceed to install the pool. Don’t miss any of the tips detailed above because they help you to make the best out of it.


