Last Updated on October 14, 2021 by Cristina
There are a variety of ways to improve the exterior walls of a home with corbels and finding out how to install exterior corbels is the first step. Usually, corbels are used to support ceilings, beams, or shelves, but now are used as decorations more often than not.
Selecting what type of corbel you want will also influence the process of how to install exterior corbels. Customarily corbels can be made from wood and faux wood to metal, PVC, or stone. Choosing which of these materials to use depends on the exterior appearance of your house you wish to match with.
Table of Contents
What You Will Need
- Corbels
- Wood glue
- Measuring tape
- Pencil
- Hammer
- Drill with a masonry drill bit
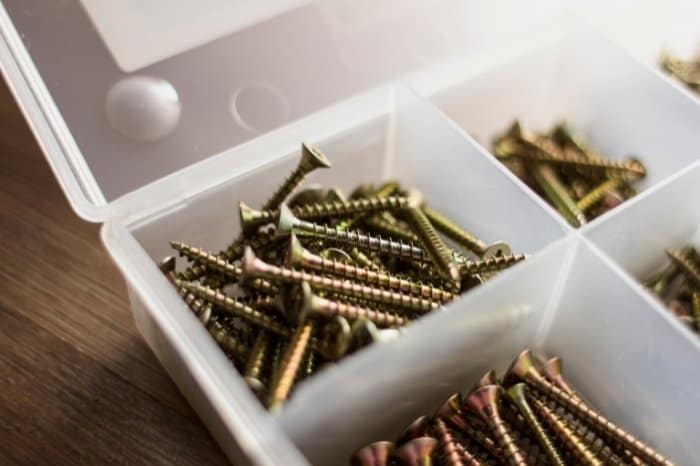
- Nails and screws
- Caulking seal
- Stud finder (optional)
- Paint or varnish (optional)
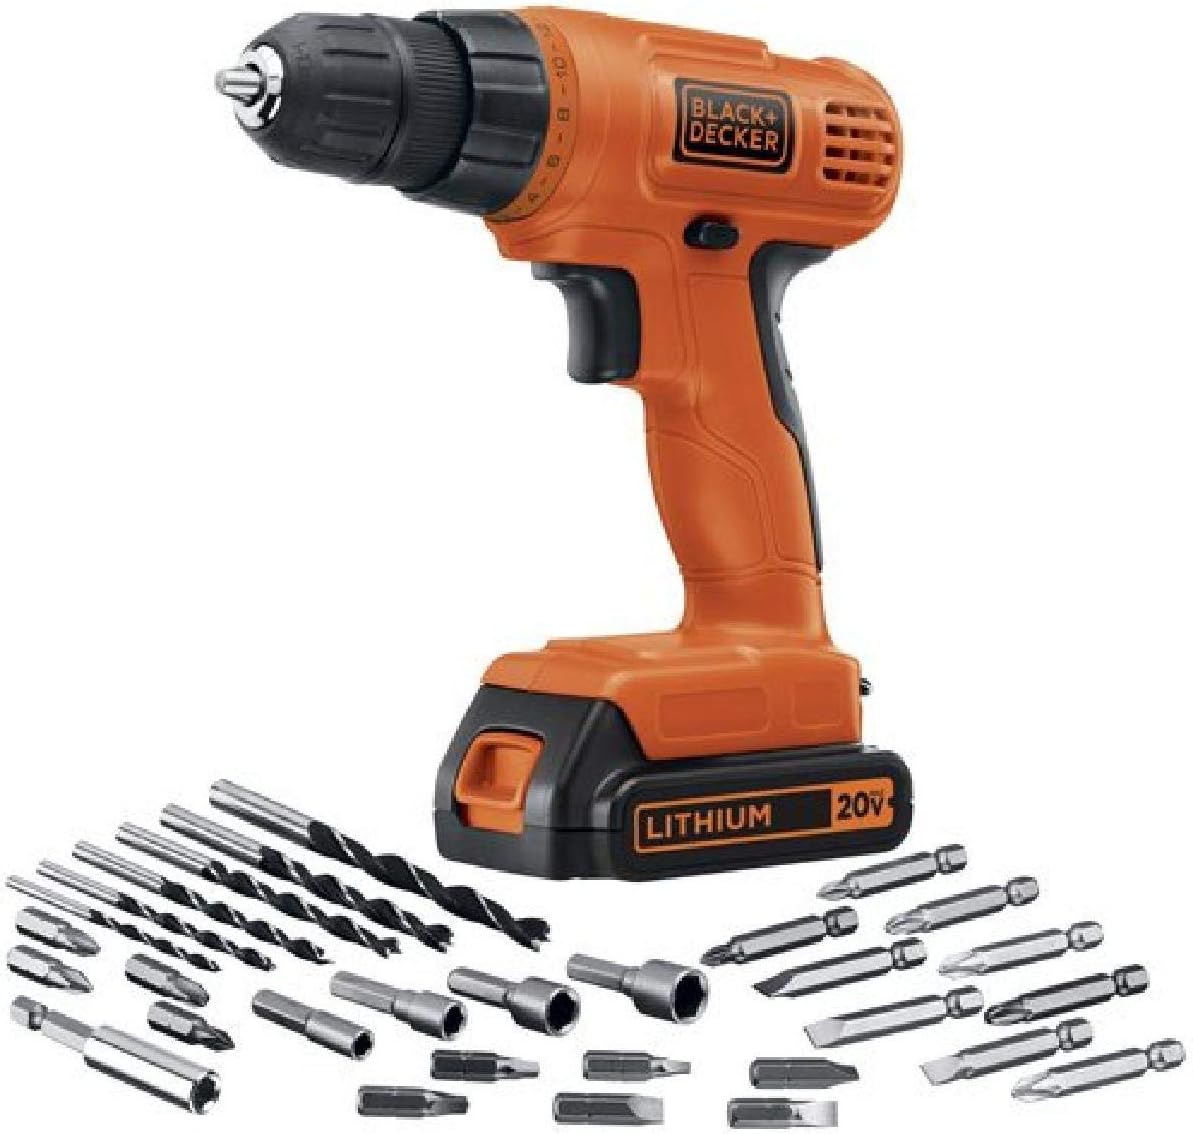
BLACK+DECKER 20V MAX Cordless Drill / Driver with 30-Piece Accessories
Step By Step Instructions
Step 1 – Prepare The Corbels
Depending on which type of corbels you need, it may be necessary to have them painted or varnished. Painting is done so that they match the exterior of the house, or varnished for protection against outdoor weather exposure.
Dust and residue often collect on objects that have been in store for a while. After the corbels are brought home, take them out of the box to have them cleaned, then paint or varnish them accordingly. Doing this will also extend their life cycle so that they won’t look worn after a few months.
Step 2 – Marking Corbel Placement
After the corbels have dried and are ready to be installed, some planning comes into play before gluing them on. Measure the area you want to glue corbels to, and determine the spacing between them. This will ensure they are evenly spread out and how many corbels are needed.
If they are purely decorative, then spacing them is mostly up to personal preference. However, if the corbels are required to hold weight, then a span of 24 inches is needed. Installing corbels at 36 inches will also do but 24 inches apart is the desired span. Place the corbel against the exterior wall and mark with a pencil where it will go.
Step 3 – How To Install A Corbel With Glue
Faux wood corbels fit snugly under the fascia board, and they have a gap underneath which can be further strengthened using mounting blocks. A mounting block made of wood is cut to fit in the corbel notch and screwed on the wall.
Corbels with no gap in the back don’t need an extra mounting block. Place the corbel upside down on a protective cloth or cardboard so that it won’t get dirty or damaged.
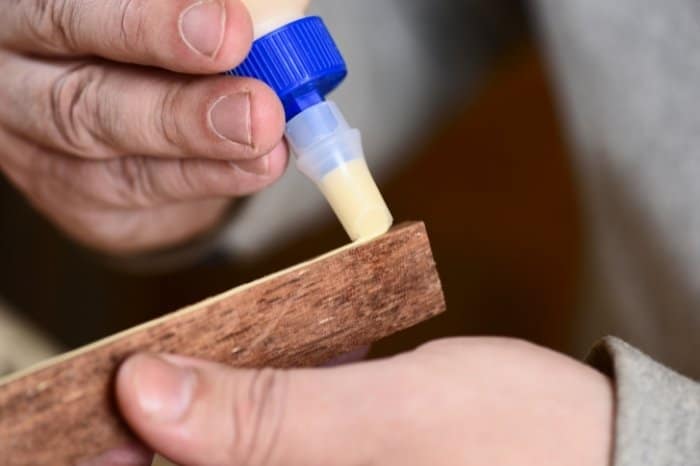
Apply sealant on the edges of the corbel, if it’s a faux corbel with a gap. Glue it to the wall along with the wooden mounting block. For wood and PVC corbels, apply glue to the back around the edges, in beads the size of a dime. Hold it against the wall, gently pressing for 60 to 90 seconds, and let dry for 2-3 hours.
Wood corbels can hold well enough with glue alone, but for an extra precaution, it’s advised to also nail them in. Choose an inconspicuous stop close to the bottom part of the corbel and attach a nail using the hammer. Hammering nails right after the corbel was glued will pin them even better as the glue dries.
Step 4 – How To Install Exterior Corbels With Nails And Screws
Wood, PVC, granite, or stone corbels all can be installed with nails. Use a stud finder to make sure you won’t try to hammer in a nail over anything metallic already in the wall.
Corbels usually come with pre-drilled keyholes on the back but if they don’t then a drill would be useful. Measure where you need to drill and make 2 holes, one under another, between 2 and 4 inches in diameter on the back of the corbel. Make sure they are parallel so that the corbel will hang evenly and not lopsided.
Mark the placement of each hole on the wall and draw lines for the next corbel placement. Use a drill and masonry drill bit to make a hole in the wall. Once all the nails are attached to the wall, hang the corbels on top of them.
Step 5 – Attach Corbels To The Fascia Board
If the corbels are installed below the roof for decorative purposes then it’s good to secure them onto the fascia board. After the corbels are fastened onto the wall, use a high-quality caulking seal to affix on the fascia board.
Applying caulking around the corbel will make it look like it’s part of the wall proper. This will also provide further strength that will hold the corbels in place even better.
Step 6 – Finishing Touches
Faux wood corbels are typically already printed with differing grades of stain but they may not completely match your home. A few extra coats of stain may be required to achieve the desired color in faux wood corbels. How to install exterior corbels is not the only skill needed. Maintaining the corbels might mean cleaning and reapplying varnish once a year.
Tips For How To Install Corbels
- Caulking can be used to plug the nails and screw holes and paint over them.
- Use nails long and thick enough to pierce through both the corbel and wall.
- For structural purposes, corbels usually need to be made of sturdy material like granite.
- The caulking may need some sanding after it has dried up, to bring out all decorative ornamentations.
- Affix a wall plug to the wall and paint the nail on the flat side to make adherence on both sides tighter.
Conclusion
Choosing a place to add decorative pieces is the main focus when it comes to how to install exterior corbels. It’s also not a difficult project to undertake and it adds a touch of elegance to a home. Whether using corbels to wrap around the roof or as a door canopy support, they provide a polished look to your home.
Sizes, aesthetics, and material vary, to suit any house and complement its facade, some of which are customizable, like faux wood. Even if corbels are mostly used for stylistic reasons their appeal has not gone down. Projecting outward from the eaves of a roof overhang, corbels look quite imposing, especially in older-looking architectural styles.


